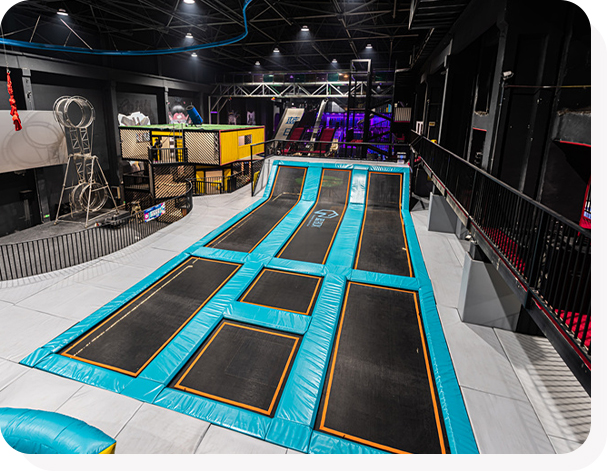
How to build a trampoline park
STEP 1: Find the Right Trampoline Arena Builder
Regardless of who you use to build your Trampoline Arena you should follow the general guideline we’ve listed below to help you stay on track.
REMEMBER! All the information and suggested training are only recommendations on how to successfully run your trampoline park based on our experience in the industry.
Since this is your business and YOU have the final word you may choose to handle things differently.
Here are some pointers to help facilitate the progress of your new trampoline park business:
§ Conceptual budgets give you an idea of the amount of funding you’ll need to secure.
§ Estimated construction schedules to help hold your builders accountable.
§ A strategy to execute your project properly.
§ Advice on how to secure the necessary permits from your local jurisdictions.
STEP 2: Find the Right Location.
It’s imperative that you find a location with the right price, square footage and ceiling height.
§ You want to find a place where the cost per square foot is manageable and won’t break the bank. $0.25 – $0.50 / sq ft. is reasonable but you may have to pay a bit more depending on the
location you choose. For example, you’ll pay more for a retail location in a strip mall than you would for a warehouse in an industrial location.
§ You’ll need ample space so you’ll want to find a building that’s at least 15,000 square feet. Your trampoline park equipment will take up approximately 50%-70% of your total floor space.
§ The last thing you want to look out for is ceiling height. A jump arena will need a full 18 ft. of ceiling clearance to comply with standards and safety.
STEP 3: Down Payment.
As with any construction job, you’ll need to make a down payment before the designing of your new trampoline park can begin. This will cover the builders initial costs for things like components and parts.
The amount of the down payment may vary from builder to builder but at Liben we only require 30% of the total cost of the trampoline park.
STEP 4: Professional design drawings.
Once your down payment has been made, it’s time to use the latest technologies in computer aided design to bring your vision to concept with professional design drawings. This phase may take
3-4 days. Once complete, we will contact you to present you with the drawings of your trampoline park concept.
STEP 5: 70% Post Fabrication.
With your design drawing approved we fabricate the framing for your trampoline park and prepare it for shipment.
We require 70% upon completion of the fabrication but prior to shipping to your designated site.
STEP 6: Constructing Your Trampoline Park:
Liben prides itself on the speed at which we can complete assembly on our jump parks while still adhering to (in some cases exceeding) all safety standards. Construction of your trampoline park will occur in 3 phases…
§ First we assemble the framing of the trampoline park
§ Next we install all mats, springs, pads, nets and accessories.
§ Last we build out all decking.
STEP 7: Walking Through and Final Payment:
With your new park complete, we’ll walk you through the arena to educate you on the various components of maintaining your trampoline park. This includes:
§ How to change mats.
§ How to changes springs.
§ How to change pads.
Once we’re complete we collect the final 3% of the balance and you are now the proud owner of a one off, state of the art trampoline park.


